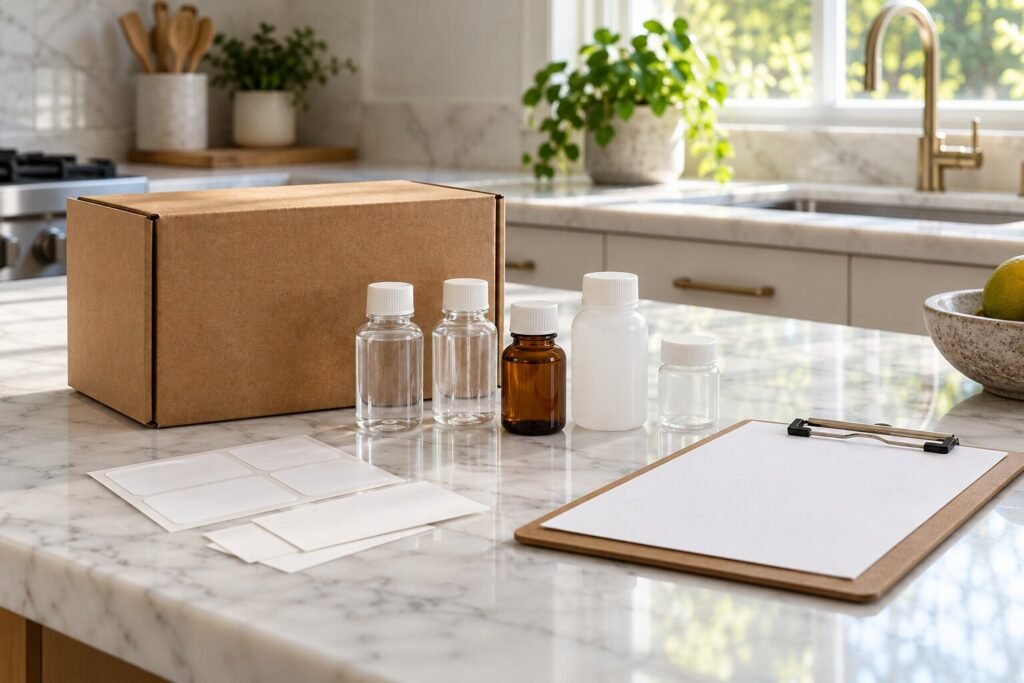
Call the receiving lab before collecting a water sample. Use its bottles, instructions, labels, and delivery requirements for the exact analyses ordered. The wrong container or a missed holding time can make a sample unsuitable even when the water was collected carefully.
Confirm collection and delivery timing before choosing a day. Different analyses can have different preservation and holding requirements. Don’t rinse a supplied bottle, remove a preservative, or substitute a household container unless the lab specifically directs it.
Call before choosing a collection day
Confirm that the laboratory performs the intended drinking-water analysis and ask about its receipt hours. A convenient collection time isn’t necessarily a convenient delivery time. Weekends, holidays and shipping schedules can matter to the plan.
Tell the lab whether you will deliver the sample yourself or send it by courier. Ask when it must arrive and whether it can be accepted on the day you propose. Don’t collect first and then discover that the receiving office is closed.
The EPA certified-laboratory directory helps identify state contacts. Ask about certification for the particular analysis rather than assuming that a laboratory performs every test under the same approval.
Match every bottle to its intended analysis
Keep the kit’s labels and instructions together. A bottle supplied for one test may not be appropriate for another. Don’t substitute a washed beverage bottle because it looks clean, and don’t combine samples to save space unless the laboratory expressly instructs you to do so.
Ask whether the supplied container has any preservative or preparation that must remain in place. Never rinse, empty or alter it on your own. Follow the kit instructions and seek clarification if the bottle seems different from the written description.
EPA’s sampling guidance illustrates why containers, preservation and timing are method-dependent. The receiving lab’s procedure should control your actual collection rather than a generic checklist copied from another test.
Identify the exact tap before starting
Write the sampling location in ordinary language that another person can understand. “Cold kitchen faucet downstream of identified filter” is more useful than “house.” If the location is uncertain, ask the laboratory or a qualified professional how to identify the intended point.
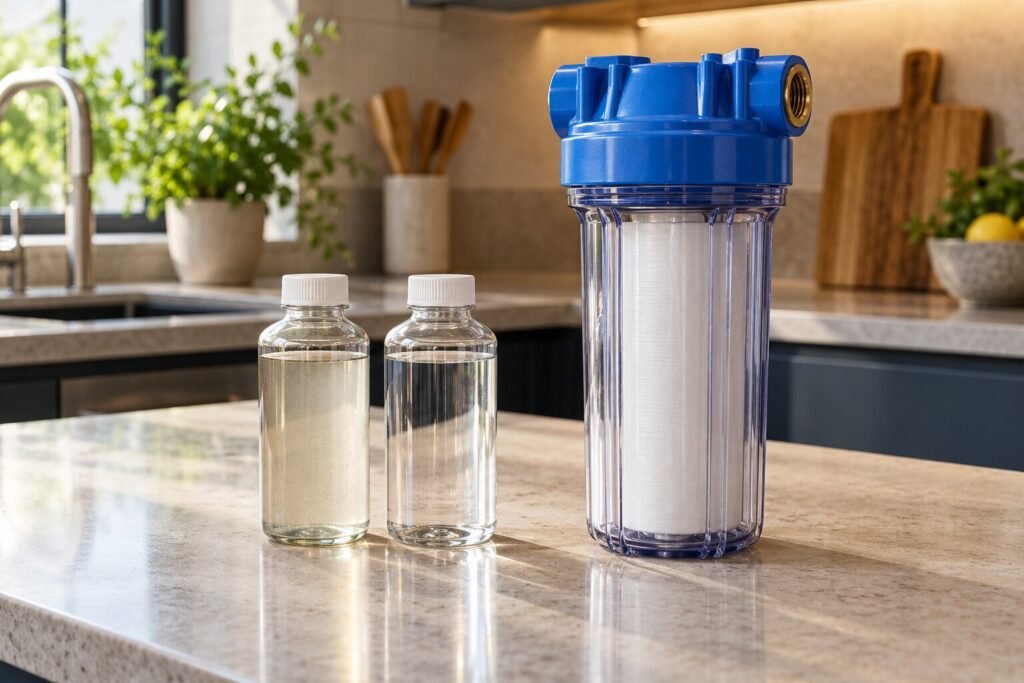
Tell the laboratory what equipment is present and what question the sample should answer. A source-water investigation and a treated-tap check may require different locations. Don’t assume the most accessible tap is automatically the right one.
Ask about any preparation of the outlet and timing of household water use. These instructions depend on the analysis. Don’t combine a first-draw instruction from one test with a flushing instruction from another because both appeared in search results.
Prepare the paperwork while the kit is closed
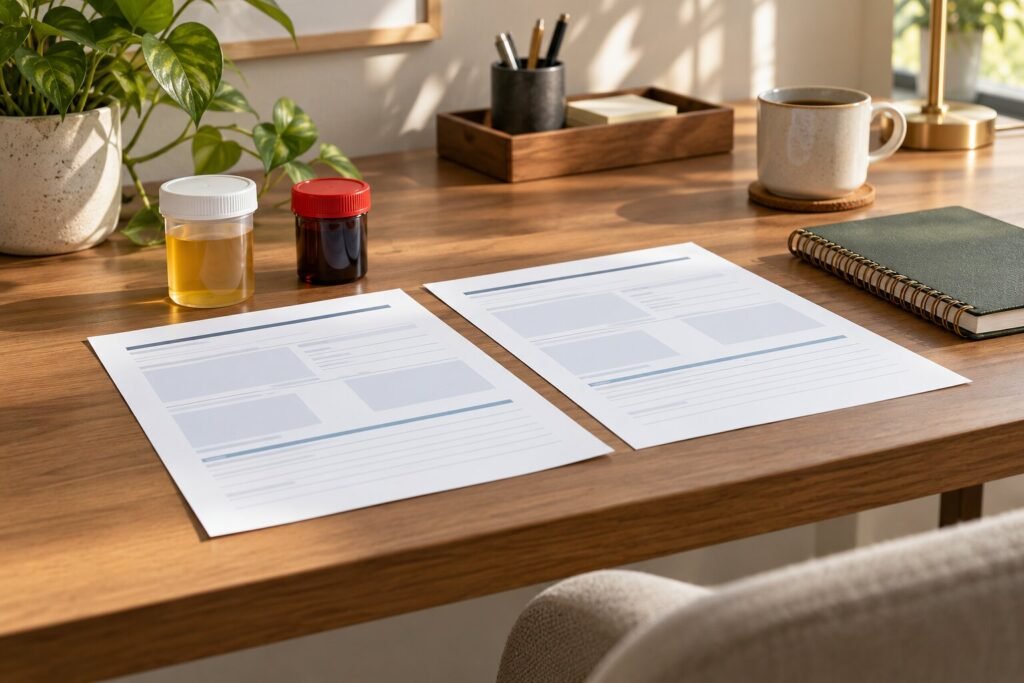
Check the required identifiers, collection date and time, sample location and analysis request. Ask how the laboratory wants labels written and whether a form must accompany the bottles. Fill in what you can beforehand, leaving actual collection details for the moment they occur.
Use consistent names on the bottle and form. If you collect more than one sample, identify them distinctly. A laboratory shouldn’t have to guess which bottle represents the treated outlet and which represents the source.
Keep a personal copy of the completed record. A photograph can help preserve the form, provided it doesn’t replace paperwork the laboratory needs. Store personal addresses and contact information privately.
Follow the transport instructions exactly
Ask about packing, temperature requirements and the permitted delivery interval. Don’t choose a universal number of hours from a blog. The requirement depends on the analysis and the laboratory’s procedure.
If the plan changes after collection, contact the lab before sending the sample. Tell it the actual timing and conditions. An honest account helps it decide whether the sample is usable. Editing the collection time to fit a deadline undermines the entire result.
For courier delivery, keep the tracking reference and expected arrival. Ask what to do if the package is delayed. A shipment marked delivered doesn’t automatically establish that all analytical acceptance conditions were met.
Check acceptance before interpreting a result
Ask whether the sample was accepted without qualifications. If the laboratory flags a collection or delivery issue, request an explanation of how that affects interpretation. Don’t remove the qualification when sharing the report with an installer.
Keep the sample record with the final report. This lets a future reviewer understand where, when and how the evidence was obtained. The number alone can’t reconstruct an incorrect or undocumented collection.
If recollection is necessary, ask which part of the process should change. Use the replacement instructions instead of simply repeating the same routine. A rejected sample can become a useful correction if the reason is understood.
Sources
- EPA , Certified Laboratories for Drinking Water
- EPA , Sampling Guidance for Unknown Contaminants in Drinking Water
This guide is AI-assisted and includes reference links. We haven’t tested your water or independently tested products. Follow local health advice and the instructions for your own equipment.
Read our editorial policy →