A toilet that keeps refilling may have a flapper that isn’t closing cleanly, a chain that holds it open or water rising into the overflow tube. Start by watching one refill with the tank lid removed. The useful repair depends on where the water is going, not simply on which replacement kit is cheapest.
This guide covers observation and ordinary service on a conventional gravity toilet with a hinged flapper. A canister, dual-flush or pressure-assisted toilet needs its own instructions. If you find water outside the tank, cracked porcelain or a shutoff that won’t operate safely, stop the repair and get help.
Before you touch the tank
Clear the floor and put an old towel on a stable surface for the lid. Lift the lid with both hands and keep it away from the edge of a counter. Porcelain can break, and a replacement lid can be harder to find than the small part you were planning to change.
Find the toilet’s model identifier and the manufacturer’s service instructions. It may be inside the tank or on another marked location. Match the instructions to the mechanism you actually see. A simple hinged rubber flapper and a tall canister are different arrangements, even though both release tank water during a flush.
Locate the toilet’s water shutoff before planning a replacement. If it is accessible and works normally, use it as the instructions direct. Don’t force a seized valve or continue if the connection begins leaking. Our main water shutoff guide helps with identifying the broader isolation route, but a troublesome valve may still need a plumber.
If the symptom is water on the floor at the toilet base rather than water continuing to run inside the tank, use the toilet-base leak guide instead. Those observations start different investigations.
Watch a refill before making a change
Kohler’s running-toilet troubleshooting distinguishes chain binding, overflow and seal problems. The mechanism and model determine the permitted adjustment. Do not transfer one toilet’s chain setting or water-level instruction to another.
Flush once and watch the water rise. Look for whether it reaches the toilet’s specified level and stops, or keeps entering the overflow tube. Watch whether the handle returns normally and whether the chain leaves the flapper free to settle.
If water continues flowing into the overflow tube, don’t assume a new flapper is the answer. The fill control or water-level setting needs the model’s troubleshooting instructions. Avoid choosing a universal tank level from another toilet’s video.
If filling stops and later starts again without a flush, water may be leaving the tank through a seal or another route. A chain caught beneath the flapper is one visible possibility. A worn or dirty sealing surface is another. The observation narrows the check without proving that every intermittent refill has the same cause.
Try the simple chain and handle check
If the handle stays down or the chain catches, use the manufacturer’s adjustment instructions. The chain must lift the flapper during flushing and let it return afterward. It shouldn’t hold the flapper slightly open when the handle is resting.
With water isolated when the instructions require it, check for a link snagging on another component or excess chain getting beneath the seal. Make only the approved adjustment, then observe a refill. Don’t bend a valve, change the overflow tube or tie the chain into a homemade arrangement to make it reach.
A successful chain correction can eliminate the problem without replacing the seal. If the chain looks free and the flapper still doesn’t seat, move to the next check rather than repeatedly shortening it. A chain pulled too tight can create exactly the leak you are trying to stop.

Read the decision path
- If water is outside the tank, isolate it only if safe and get repair help. Do not continue the flapper procedure.
- If the tank exterior is dry, identify a conventional gravity mechanism and observe the chain and flapper.
- If the supply cannot be shut off safely, stop and get help.
- If the model and isolation are suitable, follow its chain adjustment, seal cleaning or compatible flapper-replacement instructions.
- Restore water as directed and watch a refill. If the toilet still runs, get help. If it stops normally, observe the next ordinary flush and refill.
Clean only the parts the instructions allow
For a conventional flapper check, shut off the supply and flush as the toilet’s instructions direct so the tank can be serviced. Some water may remain. Use the model’s procedure for accessing the seal and seat rather than reaching around unfamiliar components.
If approved, remove loose deposits gently from the relevant sealing surface. Don’t scrape with a knife, sand the seat or apply an aggressive chemical cleaner. Those shortcuts can damage a surface that needs to seal reliably. If the seat is chipped or damaged, a replacement flapper alone may not resolve the problem.
Don’t add an in-tank cleaning tablet as a repair. It doesn’t correct a caught chain or damaged seat, and the toilet manufacturer may restrict the use of such products. The correct next step is a compatible part or proper service, not a chemical experiment inside the tank.
Replace a flapper only after identifying it
Use the toilet model and service-part information to find the correct flapper. Size, attachment and flush behavior matter. “Universal” on a package does not prove that the part is suitable for every toilet or every flush arrangement.
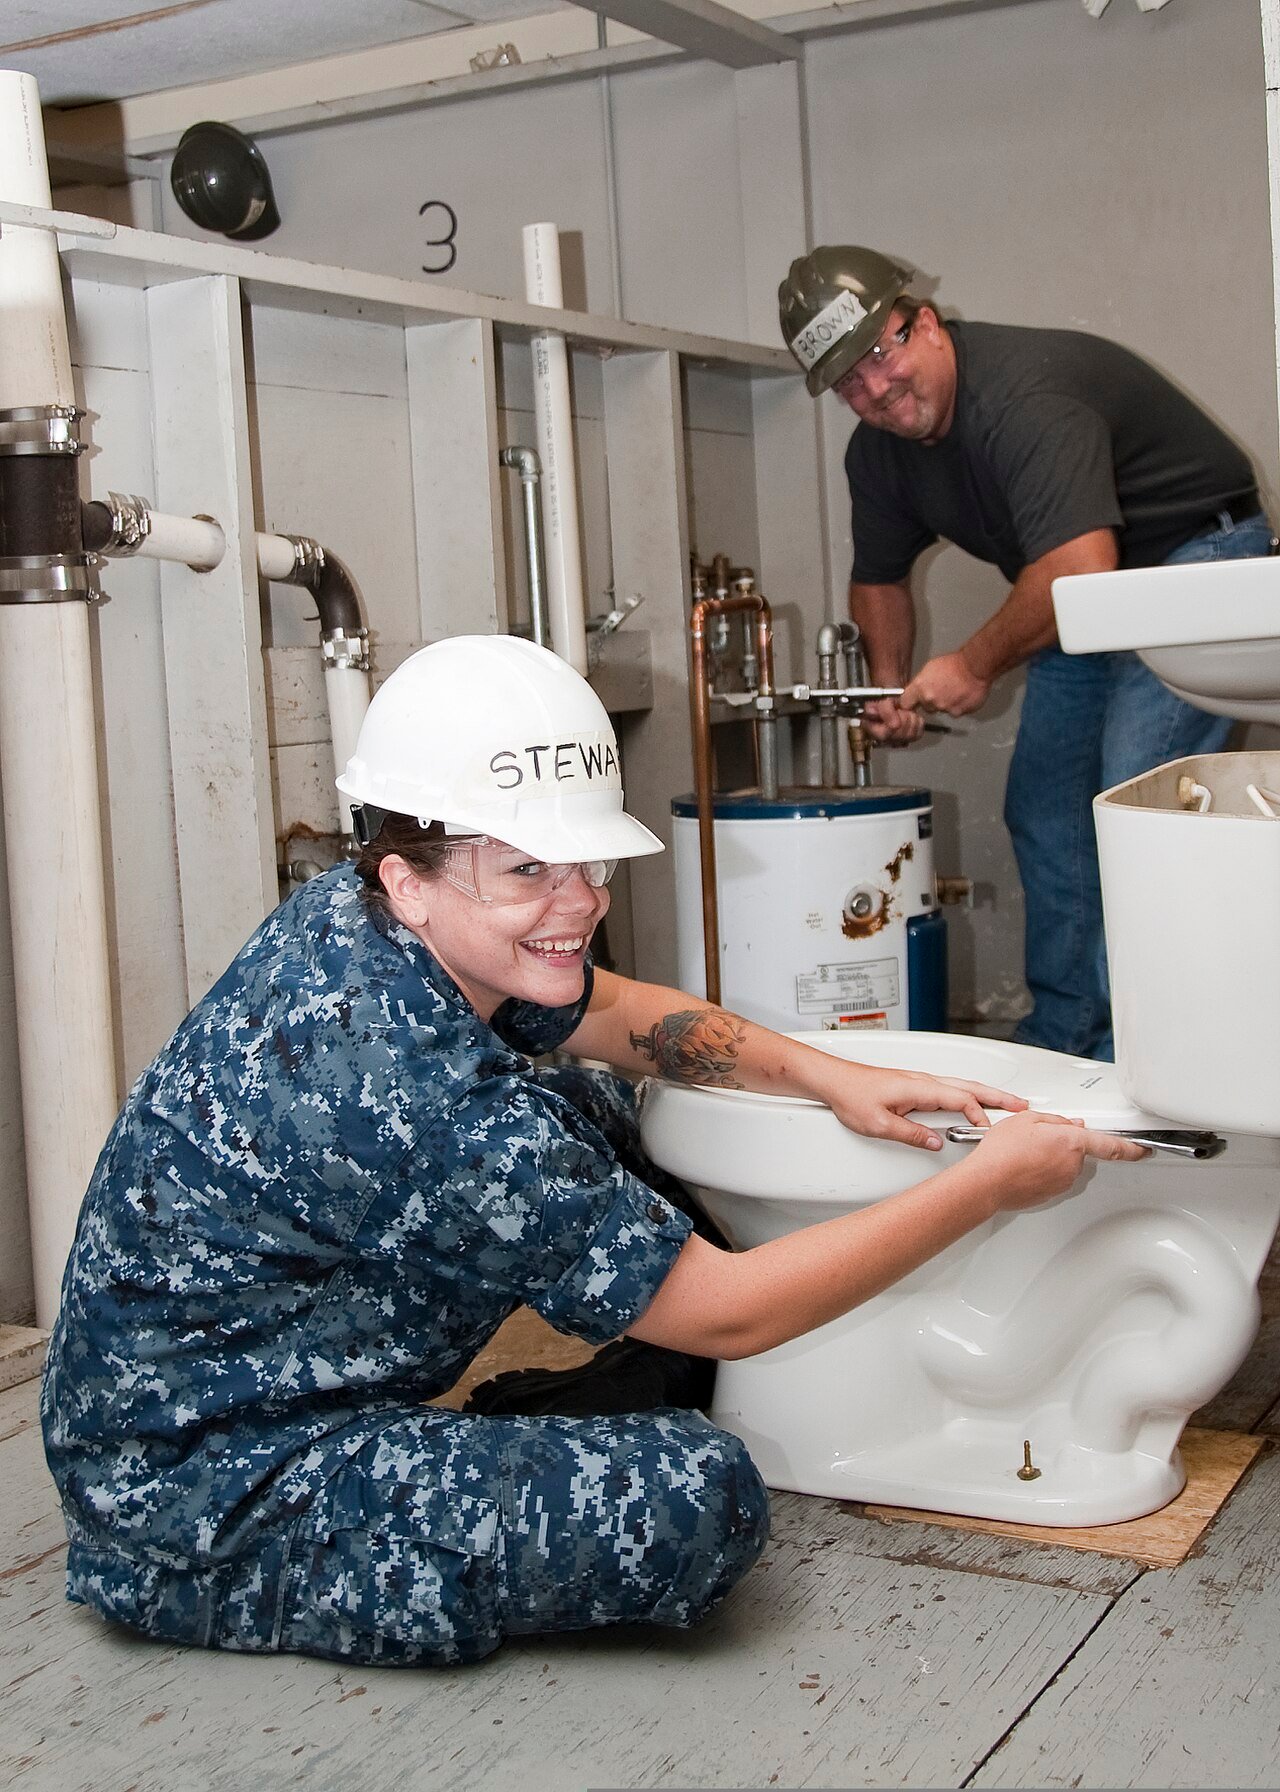
Keep the old part long enough to compare the approved replacement and record its identifier. With the supply isolated, remove and install the flapper according to the toilet and part instructions. Reconnect the chain as specified and check that the flapper can move freely and rest on its seat.
Do not loosen the bolts holding the tank to the bowl for an ordinary flapper replacement. If the repair appears to require removing the tank, replacing the whole flush valve or altering a pressure-assisted unit, the job has moved beyond this simple procedure. Follow the appropriate model instructions or use a qualified plumber.
Restore water and check the result
Restore the supply as instructed and watch the tank fill. Check the shutoff and accessible connections for moisture without touching any wet electrical equipment nearby. Confirm the handle returns, the flapper settles and the fill control stops at the specified level.
Flush again and watch the same sequence. Then leave the toilet unused and listen for an unexpected refill. A repair that works once but lets the chain snag on the next flush needs another look. Avoid declaring success only because the first refill sounded quieter.
If water continues entering the bowl, the tank overflows internally or a new external leak appears, stop and follow the appropriate service route. Keep the model, replacement identifier and observations together. Those details help a plumber identify what was changed and which symptom remains.
When to hand the job over
Call for help if the shutoff is stiff or leaking, the tank mechanism is unfamiliar, the sealing seat is damaged or the problem continues after an appropriate correction. Water reaching the floor needs attention even if the toilet now flushes normally. Don’t let a working flush hide an external leak.
Keep a small service note with the date, model, part and outcome. If water loss is the broader concern, investigate it separately rather than assuming the toilet explained the entire household change. Our leak-sensor and shutoff comparison explains another part of household leak response.
The useful DIY outcome is a toilet that refills and stops normally after a specific, compatible correction. Start with the visible mechanism, change only what the evidence and instructions support, and check the result before putting the lid back.